
|
Do it yourself
| |||
| ||||


Reset Tyre Pressure Light Toyota Yaris 2016
Model: Toyota Yaris
Xp130
- Years 2011-2019
Due to advancements in onboard electronics, many vehicles are equipped with various sensors that monitor several operating parameters, including tyre pressure. Even if the pressure is correct, the warning light may sometimes illuminate on the dashboard. First, check with a gauge that the pressure in all 4 tyres matches the manufacturer's specifications. For the 2016 Toyota Yaris, the values are as follows: Front: 2.2 bar for T-type tyres, 2.3 for H-type, 2.4 for W-type. Rear: 2.2 bar for all tyre types. To reset the pressure light, turn on the ignition with the key, locate the reset button under the steering column. Press it for 3 seconds, and the light will flash 3 times before turning off. Remove the key from the ignition and start the vehicle.
Updated on 21 March 2026 by ScegliAuto
Video tutorial
Related tutorials
Toyota Yaris
(2011-2019 /
Xp130)
The procedure for resetting the tire pressure warning light on the Toyota Yaris involves first inflating the tires that are at insufficient inflation…

Toyota Yaris
(2020-2026 /
MK 4)
In order to reset the tire pressure warning light on the Toyota Yaris Hybrid, you need to inflate the tires until they reach the optimal pressure val…

Toyota Yaris
(2005-2011 /
Xp90)
On the Toyota Yaris, the operation that allows you to reset the tire pressure warning light involves first inflating the tires that are at an insuffi…
Other guides you may be interested in
|
How to Replace the Fan Resistor on a Renault Scenic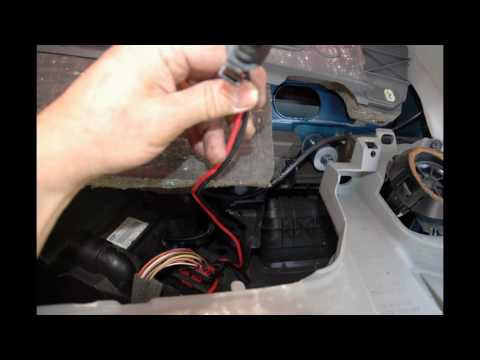
How to replace the fan resistor on a Renault Scenic. In this video, learn how to perform the disassembly: use a lever to remove the plastic under the glove compartment, and unscrew the cover (where the resistor is located) with a screwdriver. Disconnect the large connector of the resistor, then pull it out from the cabin. Insert a new fan resistor (connect the power connector). Finally, refit the cover and tighten the screws. Check the correct assembly of the previously fitted parts and test the correct operation of the fan. by ScegliAuto More videos
|

|
For advertising on this site Write to info@scegliauto.com
ScegliAuto is not responsible for any inaccuracy of the data in the lists. To report any inaccuracy or your business (if you own the business in question), please write to info@scegliauto.com
Number of seconds to generate the page: 0.132
(c) ScegliAuto 2026 - info@scegliauto.com - Privacy policy VAT number: IT01247470535 |