
|
Do it yourself
| |||
| ||||


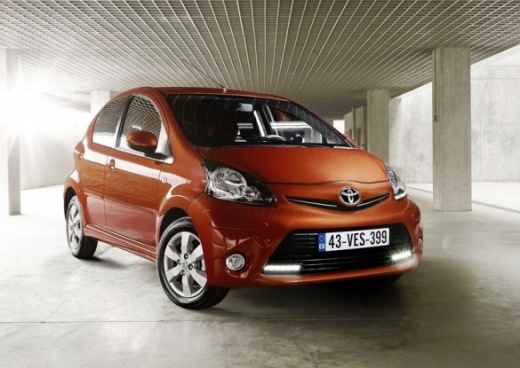
Removing the Left Driver's Door Panel on a Toyota Aygo
Model: Toyota Aygo
Ab10, MK 1
- Years 2005-2014
Carry out the removal of the left driver's door panel on a Toyota Aygo, here’s how to proceed. Before starting the disassembly, disconnect the battery terminals located in the engine bay. Use a lever or screwdriver to remove the window winder from the door panel. Unscrew the screws of the upper door opening lever with a screwdriver, then remove the trim plastic near the lever (remove the fastening screws). Use the lever to detach the fastening clips of the door panel from the door. Finally, grasp the panel with your hands and pry it off from the door. Reassemble everything in reverse order.
Updated on 27 February 2026 by ScegliAuto
Video tutorial
Related tutorials
Toyota Aygo
(2021-2026 /
MK 3, Aygo X)
To reset the tire pressure warning light on the Toyota Aygo X, you need to inflate the tires until they reach the recommended pressure value: this wi…

Toyota Aygo
(2005-2014 /
Ab10, MK 1)
In order to replace the clutch of the Toyota Aygo, you need to lift the car so that the left front wheel can be removed: after removing the wheel, yo…

Toyota Aygo
(2014-2023 /
Ab40, MK 2)
Today's video will show us how to reset the fuel consumption indicator of the Toyota Aygo. First, we get into the car and start the dashboard and the…
Other guides you may be interested in
|
Removing the Timing Belt on a Suzuki Vitara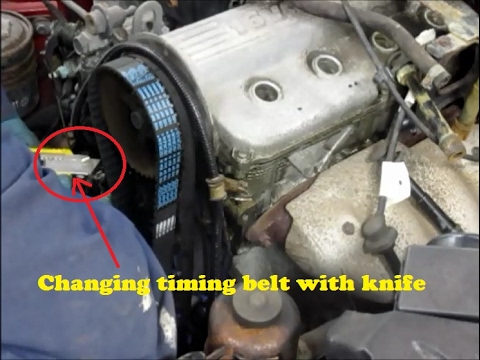
In this video, see the removal and replacement of the timing belt and water pump on a Suzuki Vitara. Open the bonnet and lift it, securing it in place. Use a socket wrench to remove the cooling radiator along with the associated hoses. Disconnect the power wiring using pliers, and remove the plastic undertray with a screwdriver. Use a spanner to loosen the tensioner pulley and slide the belt off its seat. Use a socket wrench to unscrew the tensioner pulley bolt, and remove the water pump as shown in the video. Fit the new water pump, the tensioner, and the belt itself, tightening everything with the socket wrench. Finally, reinstall the radiator with the securing bolts. by ScegliAuto More videos
|
|
For advertising on this site Write to info@scegliauto.com
ScegliAuto is not responsible for any inaccuracy of the data in the lists. To report any inaccuracy or your business (if you own the business in question), please write to info@scegliauto.com
Number of seconds to generate the page: 0.087
(c) ScegliAuto 2026 - info@scegliauto.com - Privacy policy VAT number: IT01247470535 |