
|
Do it yourself
| |||
| ||||


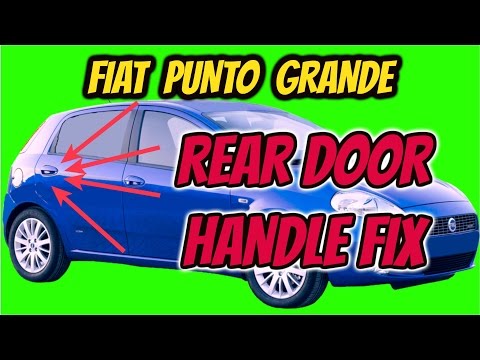
Removing the Rear Door Panel of the Punto Evo
Model: Fiat Punto
199, MK 3, Punto EVO, Grandepunto
- Years 2005-2018
Here’s how to remove the rear door panel: gently pull the window lift lever and detach the metal clip holding it in place using a flathead screwdriver; once removed, take off the plastic cap behind the door opening lever and unscrew the hex screw inside, along with the two screws located under the panel handle as shown in the video. After removing the two cross-head screws under the door panel, you can detach it from the door using two levers to extract the plastic clips (taking care not to break them). Once the panel is separated, disconnect the wire that operates the door opening lever by detaching it from its housing as demonstrated in the video. After completing the necessary operation (in the video, the window lifter was being fixed), proceed in reverse order to reposition the panel, close it, and secure it.
Updated on 9 March 2026 by ScegliAuto
Video tutorial
Related tutorials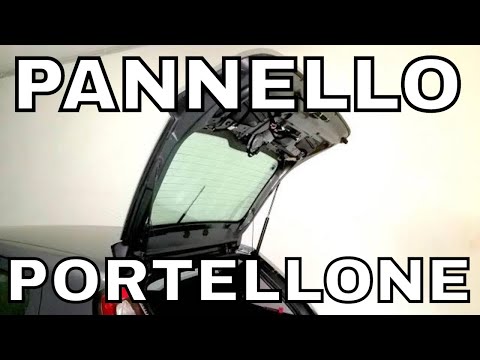
Fiat Punto
(2005-2018 /
199, MK 3, Punto EVO, Grandepunto )
How do you remove the tailgate panel of a Fiat Punto Evo? Follow these steps: open and lift the tailgate of your car, and using a screwdriver, unscre…
Fiat Punto
(2005-2018 /
199, MK 3, Punto EVO, Grandepunto )
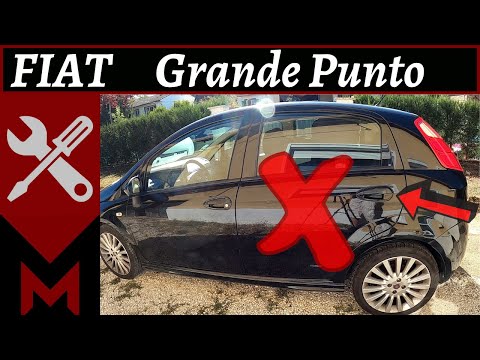
How to remove the door panel of a Fiat Grande Punto (rear)? Don’t worry, here’s how to proceed. Before starting the disassembly work, disconnect the …
Fiat Punto
(2005-2018 /
199, MK 3, Punto EVO, Grandepunto )
Let's see in this video how to remove the rear door panel and how to solve the lock problem on the Fiat Grande Punto, but also on the Punto Evo. Firs…
Other guides you may be interested in
|
Frequently Asked QuestionsHow to Replace the Fuel Filler Flap of a Volkswagen Golf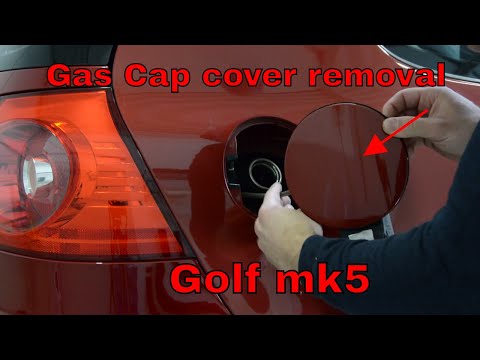
As the first step, open the fuel flap and unscrew the cap of the fuel filler neck. Just below the flap closure hook, there is a screw to unscrew. This way, you can easily pull the edge you just unscrewed with your hands. Be careful with the gasket present, and with great care, continue with the extraction of the flap. Once removed, you can make the necessary replacements. Now, retrace the steps described in reverse for reassembling the various components, and you're done! by ScegliAuto More videos
|

|
For advertising on this site Write to info@scegliauto.com
ScegliAuto is not responsible for any inaccuracy of the data in the lists. To report any inaccuracy or your business (if you own the business in question), please write to info@scegliauto.com
Number of seconds to generate the page: 0.055
(c) ScegliAuto 2026 - info@scegliauto.com - Privacy policy VAT number: IT01247470535 |