
|
Do it yourself
| |||
| ||||


How to Dismantle the Drum Brake on a Fiat Punto
Model: Fiat Punto
MK 2, 188
- Years 1999-2011
In this video, learn how to change the drum brake and associated shoes on a Fiat Punto. First, lift the car on a column jack to the desired height, then remove the wheel (using a socket spanner or air drill) with the respective pins. Unscrew the securing pins of the drum cover with a socket spanner and remove it from the wheel hub support. Dismantle the bearing from the hub using a socket spanner. Once you have unscrewed the central pin, extract the worn shoes and fit the new ones. Prepare to install the new brake kit, proceeding in reverse through the operations.
Updated on 26 February 2026 by ScegliAuto
Video tutorial
Related tutorials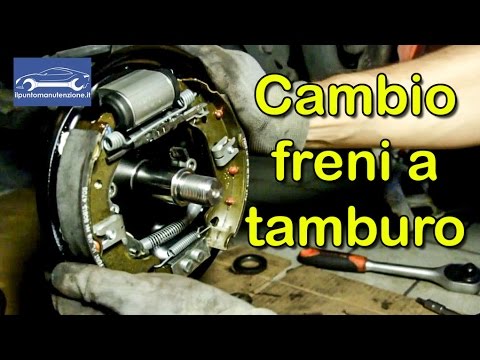
Fiat Punto
(1999-2011 /
MK 2, 188)
Learn how to remove the drum brake along with the brake shoes on a Fiat Punto. First, lift the car on a column jack to the desired height, then remov…

Fiat Punto
(1993-1999 /
176, MK 1)
As we can see in the video, the drum brake is a hydraulic activation brake: when the brake pedal is pressed, the brake fluid puts pressure on a hydra…
Fiat Punto
(1999-2011 /
MK 2, 188)
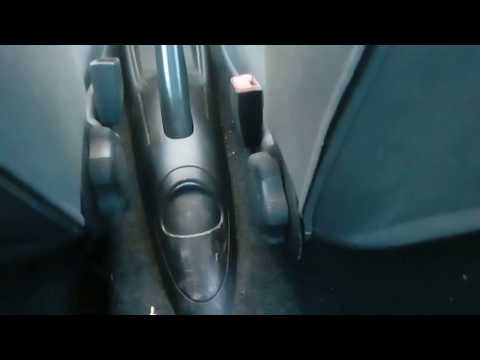
Adjusting the handbrake on Fiat Punto mk2, as on many car models, is very simple. You just have to remove the plastic behind it, using a plastic wedg…
Other guides you may be interested in
|
How to Replace the Trunk Handle on an Audi A4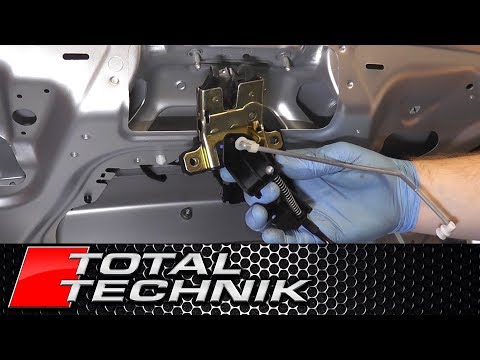
The first step, after lifting the hood, is to remove the panel covering the inside of the trunk. Once removed, you can access the entire handle mechanism. Now, disconnect the connector that powers the trunk. This will allow you to disengage the various mechanisms that operate the handle. Next, remove all the cables that move the parts. After that, unscrew all the bolts securing the handle from the inside and follow this procedure for removing the outer part as well. by ScegliAuto More videos
|
|
For advertising on this site Write to info@scegliauto.com
ScegliAuto is not responsible for any inaccuracy of the data in the lists. To report any inaccuracy or your business (if you own the business in question), please write to info@scegliauto.com
Number of seconds to generate the page: 0.076
(c) ScegliAuto 2026 - info@scegliauto.com - Privacy policy VAT number: IT01247470535 |